Hello everyone!
As you can see from the title of this blogpost, I'm so proud to say that I'm eligible for the second round of Kaisercraft Design Team application!
They are a little different from other design teams per se as applicants would need to go through 2 rounds of application to be on their official design team. So for the second round, all eligible applicants will get their new yet-to-released supplies (see below) to play with! How cool is that!
So this is their new collection, Lilac Whispers, along with some of their existing products. When I opened up the box I was pleasantly surprised by the colour scheme. So I immediately thought of a photograph I took of my mum recently. She was 'holding' onto a lotus flower, which I thought the idea behind that photo matches the vibe that the collection gave me: graceful, elegant and exquisite. Hence, I decided to create a layout with this collection.
As the colours of this collection were on the pale side, I decided to start my layout using the corrugated cardboard as a background. It also allows me to have the textures I desired as I flipped it to the back-side and tear off pieces to reveal the ridges of the cardboard.
To do this, simply take a tweezer and poke a hole where the gaps are, secure the tweezer to the edge of the paper and tear it off. It's actually quite therapeutic in a way. Tear off the pieces until you achieve your desired shape and exposure of the ridges.
When you're done tearing, apply a coat of clear gesso over the areas that are flat as we will be adding colours to it later. Since cardboard is highly porous, you really don't want the colours seeping through and destroying it.
For the exposed areas, lightly brush on white gesso or white acrylic paint with a fan brush so as to highlight the ridges.
Apply texture paste over the stencil so as to create some dimension. The stencil I'm using here is called 'Blossom'. I love that it comes in this mini size (approx 6 x 3.5 inches). It really easy to maneuver around, and great for storage.
So this is the overall look thus far.
I went on to add colours to the layout using Kaisercraft's Kaisercolour acrylic paint in Coastal Blue, Spearmint, Antique White and Wisteria. I simply watered them down and apply it on the background in a random fashion. As acrylic paint has a opaque finished, the colours will stand out on kraft background so keep in mind that transparent-finished watercolours will not work here.
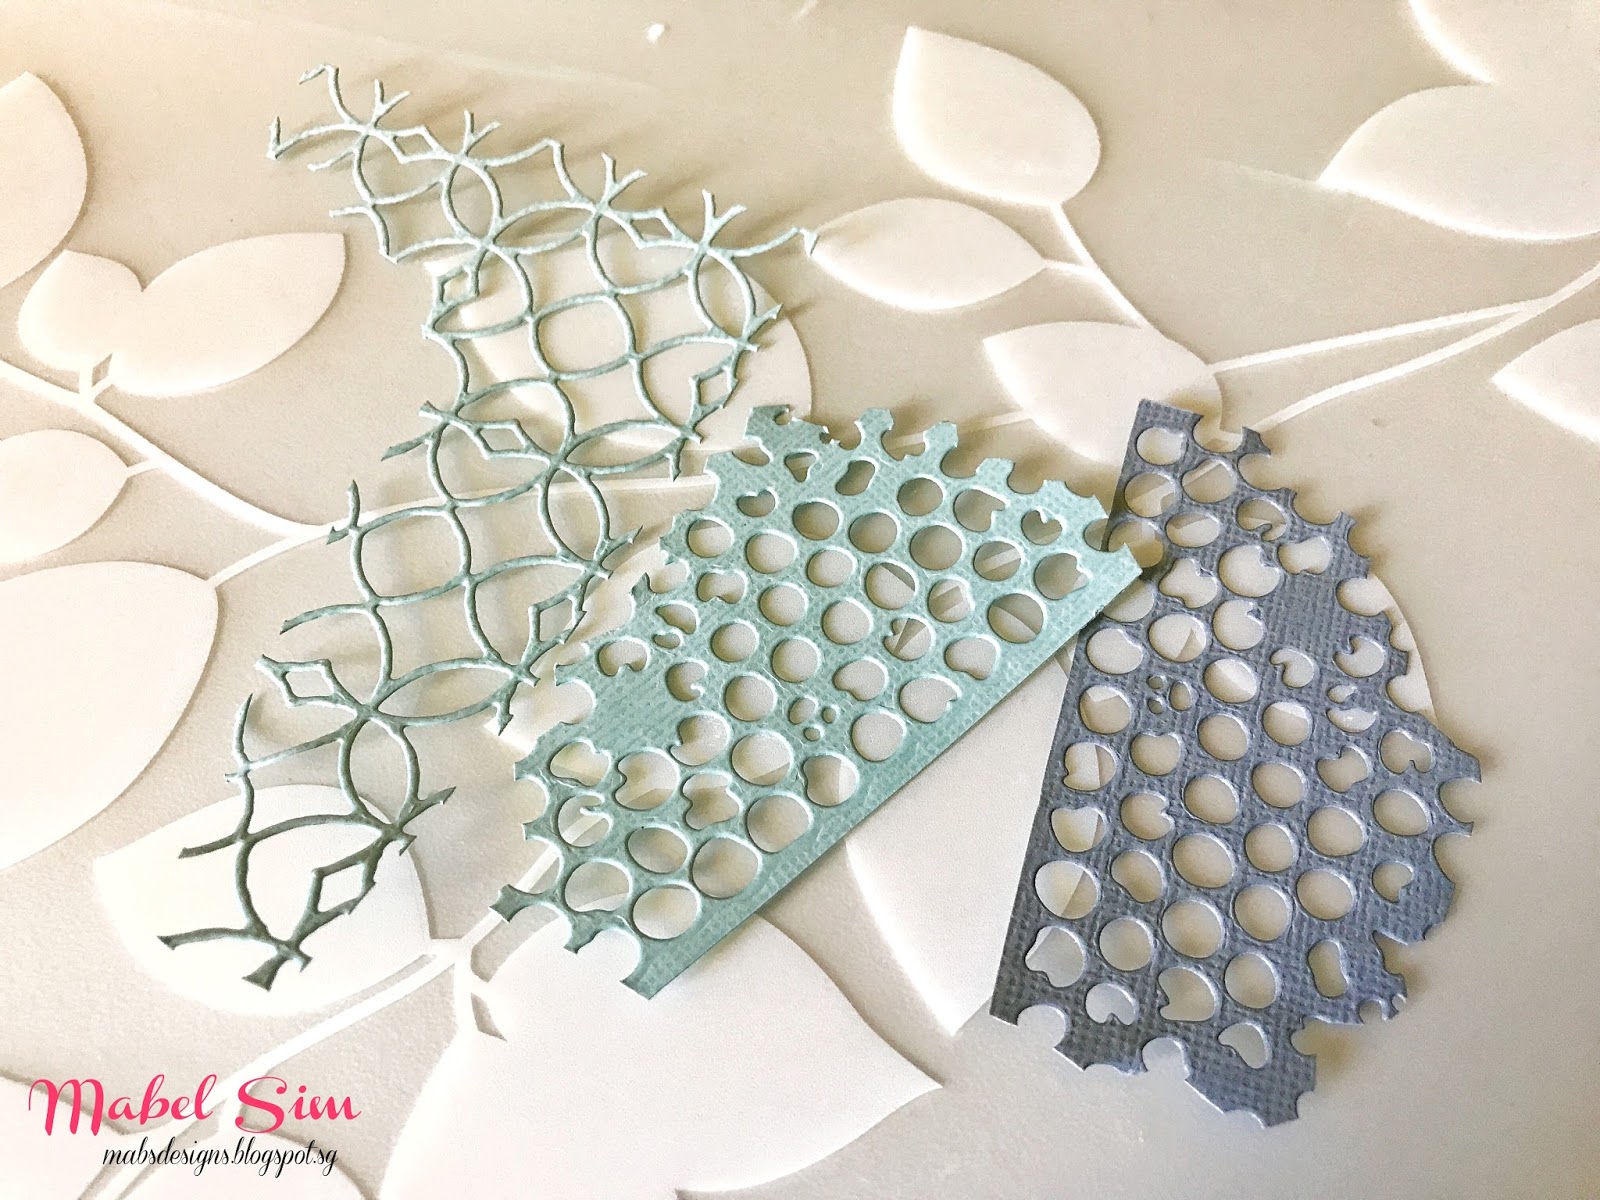
I also used Kaisercraft cardstocks in Sage, Spearmint and Elephant Ears to die cut some of these pieces meant for layering.
To create some additional interest, I stamped on these pieces with Kaisercraft's clear stamps in Journal and Tiny Dot using a black ink pad.
Doing the same here on the background.
Now, I'm moving forward to embellishing. I really love this piece from the sticker sheet from Lilac Whispers Collection and had been trying to figure out how I can incorporate this piece into my layout. So I figured out I should trim it down to different sizes so I can stick it onto different places.
My point here is that, don't be afraid to alter your supplies according to your needs in fear that you will destroy it. Trust me, you won't. Even if the results didn't go according to what you had expected, there's always another use of it in other projects.
Yupp. So I split up the huge sticker piece and mount them on some chipboard to create dimension.
Putting together everything now. I really love love love the ephemera. It had made layering and embellishing a breeze.
Adding in the matching flowers from Kaisercraft Paper Blooms in Amethyst and Sage (mini blooms).
Love this quote I cut out from one of the paper from the same collection named Well Wishes.
As a finishing touch, I'm gently brushing on white acrylic paint to highlight both the message and the flowers. This will help to blend in different elements.
So this is the final looks and some close-up pics!
What do you think of this layout?
With the remaining supplies, I made a envelope holder that I desperately needed because my letters are all over the place and I need a specific item to hold them so I don't lost them.
As you can see, I'm applying the same technique here. I created my own 'ridges' (like the corrugated cardboard) by crumpling the cardstock so that there's textures. I then highlight the crumpled lines with white acrylic paint, making them more prominent.
I have a list of supplies listed down below with links to where you can get them.
Hope you'll find that helpful. :)
That's all for this blog post. I know it was a long one, so thank you for staying through.
I hope you're inspired with what I created and is motivated to try out some of the techniques I mentioned.
Wish me luck!