HI GUYS! I'm back again with a process tutorial for my Xmas Layout!
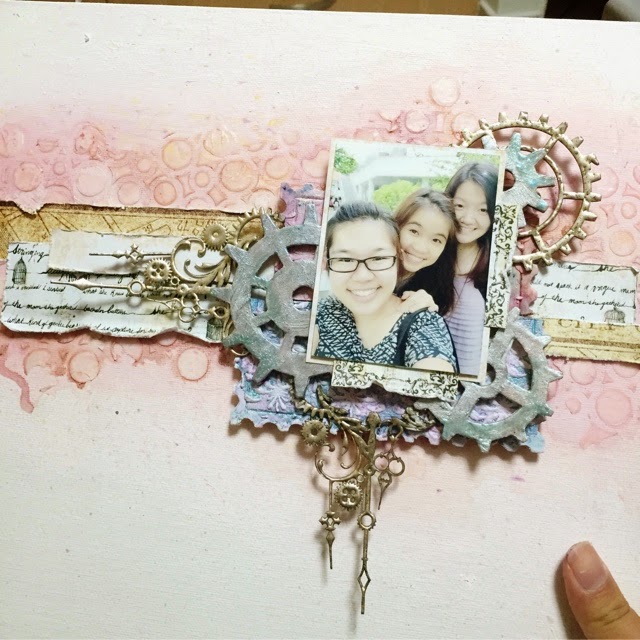
As mentioned in my previous post, my crafty friends and I finally got a chance to meet up again during the Black Friday Sales at Made With Love Store to enjoy awesome promotion on items so we took that opportunity to take another picture and make it our 2nd #STYDCHALLENGE!
So a little background story of #SYTDCHALLENGE, we're a bunch of crafters that are still or left working in Made With Love, our local craft store. It's kinda difficult for all of us to meet up, which is why we come out with this challenge of creating a project with the photos we had taken together.
The theme this time round is Christmas, and our dearest friend, Genevieve, from Sizzix Design Team (Check out her blog here!) decided to sponsor a prize for us with a tiny clause, of course! Hahahah. That we're supposed to include at least a Sizzix product in our layout. You can check out my other friends' layout by going to Instagram and search for #stydchallenge. :)
The theme this time round is Christmas, and our dearest friend, Genevieve, from Sizzix Design Team (Check out her blog here!) decided to sponsor a prize for us with a tiny clause, of course! Hahahah. That we're supposed to include at least a Sizzix product in our layout. You can check out my other friends' layout by going to Instagram and search for #stydchallenge. :)
I also decided to take up the December Challenge by both Blue Fern Studios and Scrap Around the World.
This is a sketch by Blue Fern Studios. For more information about the challenge, you can click here!

And this is the moodboard for Scrap Around the World. I really like the combination of blue, gold and white. I decided to forgo red this time round cos it doesn't match my layout. For more information on Scrap Around the World challenge, click here!

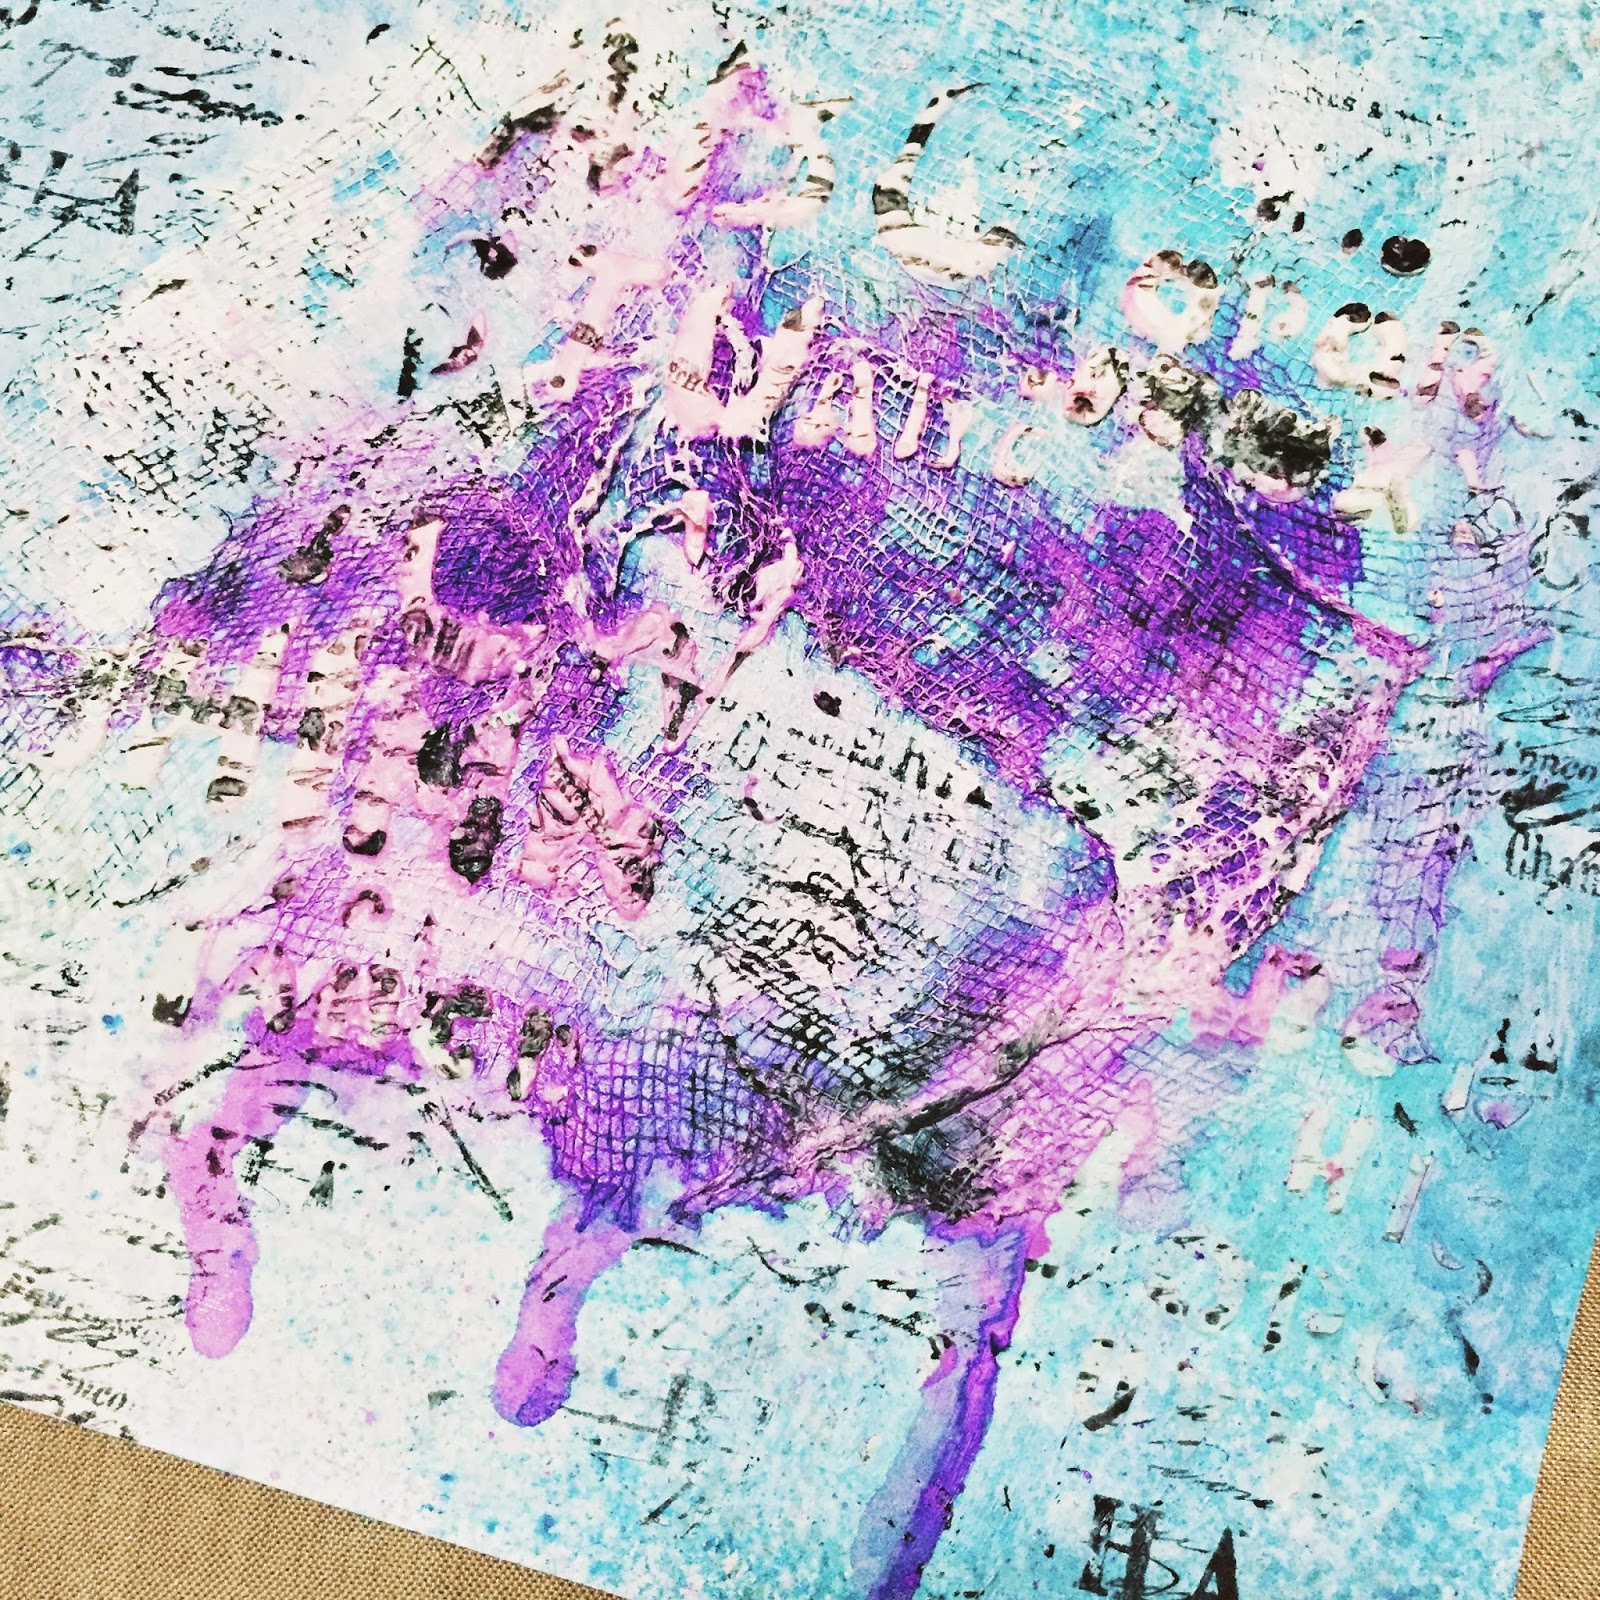
I started out with priming by A4 Canvas with a thin coat of white gesso then followed by misting it with my Tattered Angels' Turquoise Mist and 13arts' Pastel Mist in Cobalt in a vertical direction following the Blue Fern Studios' Sketch.

I also pulled out my Blue Fern Studios chipboard. I really LOVE LOVE LOVE their chipboard! They always come in this kind of intricate designs that I found it hard to believe how intricate they are. Anyway, I used my stencil brush and brushed on a coat of gesso and then quickly added Ranger's Holographic Embossing Powder while the gesso is still wet so that it'll retain the powder, then I heat set it.

I also decided to cut the chipboard in half, so that they can extend from the picture. I also used my heavy gesso on the Prima Finnabair stencil on top of the blues that I misted. I layered everything following the vertical direction of the sketch. I chose this circles stencil cos it reminded me of snow which unfortunately, we don't get to experience it in Singapore, since it's forever summer here. Haha.

Here's a closeup shot of the stencilling as well as the holographic shine of the chipboard. :)

I also decided to add in some extra circles to highlight the whole background, to make the stencilling more prominent.

I then added more christmasy embellishment. I have to confess that I have never done a xmas layout before and before doing this layout, I was getting quite petrified as I do not own any christmasy items, I began shopping around our local crafts store and even Daiso, my best friend, which sells every thing at SGD$2. So I was super happy when I managed to lay my hands on these pretty flowers.
They actually come in a ring of flowers along with leaves and gold/white ferns/twigs? I think it's meant for decorating xmas trees but I just bought them and tear them apart and used it on my layout. And thanks Kwee Mei for donating some pinecones to me!


And then, I suddenly remembered I have some snowflakes dies that I bought from Simon Says Stamp long ago. Hahahahah. I pulled them out and die cut several pieces of them on white cardstock. Since they are very intricate, I glued around 4 to 5 pieces of the same snowflake together so they're sturdier.
I also brush on a thin coat of gel medium and sprinkled a mixture of Martha Stewart Gold and Silver Glitter.


And at this point, I realised I haven used any Sizzix products at all and I have to use it since it's part of Gen's rule for our layout. So I used Tim Holtz alphabet dies for my sentiment. And a little word of advice? You better use this with a magnetic platform. These little alphabets are like little monsters that'll run all over the place, but with the magnetic platform, they transformed to little angels instead. :)

So I used the dies and cut through my pale gold/silver? glitter cardstock.

I also decided that my canvas needs some texture. So I mixed some gesso with 13arts micro glass beads to create this 'snowy' effect. And I'm absolutely in love with the glass beads right now that I started using it on almost all the craft projects that I did after I bought them. Haha.

So this is the finished look of my canvas! I added some dewdrops from Robins Nest as well as some snowflake sequins that are from Pretty Pink Posh (I think? If I'm not wrong. Haha.)


So that's it for this week!
And...
MERRY CHRISTMAS EVERYONE!!!
I'm gonna head of the Genevieve's place for our crafty friends christmas party now. I'm also pretty sure this will lead to a 3rd #STYDCHALLENGE. Haha.
Lemme know what you think of my layout.
Thanks for reading!
:)